With the interest in NFTs growing day by day, it’s understandable that more and more people are trying to get involved before they get left behind, and there is no better platform to use than Metamask, which is a rich platform for those interested in buying and trading NFTs with others and is also extremely secure and safe to use too.

So if you’re new to using Metamask but have some NFTs in a previous wallet somewhere, then you may find figuring out how to import an NFT from another wallet over to Metamask rather confusing, which is why we’ve created this handy guide on how to import an NFT to Metamask, so read on if you want to learn how to do it!
Firstly
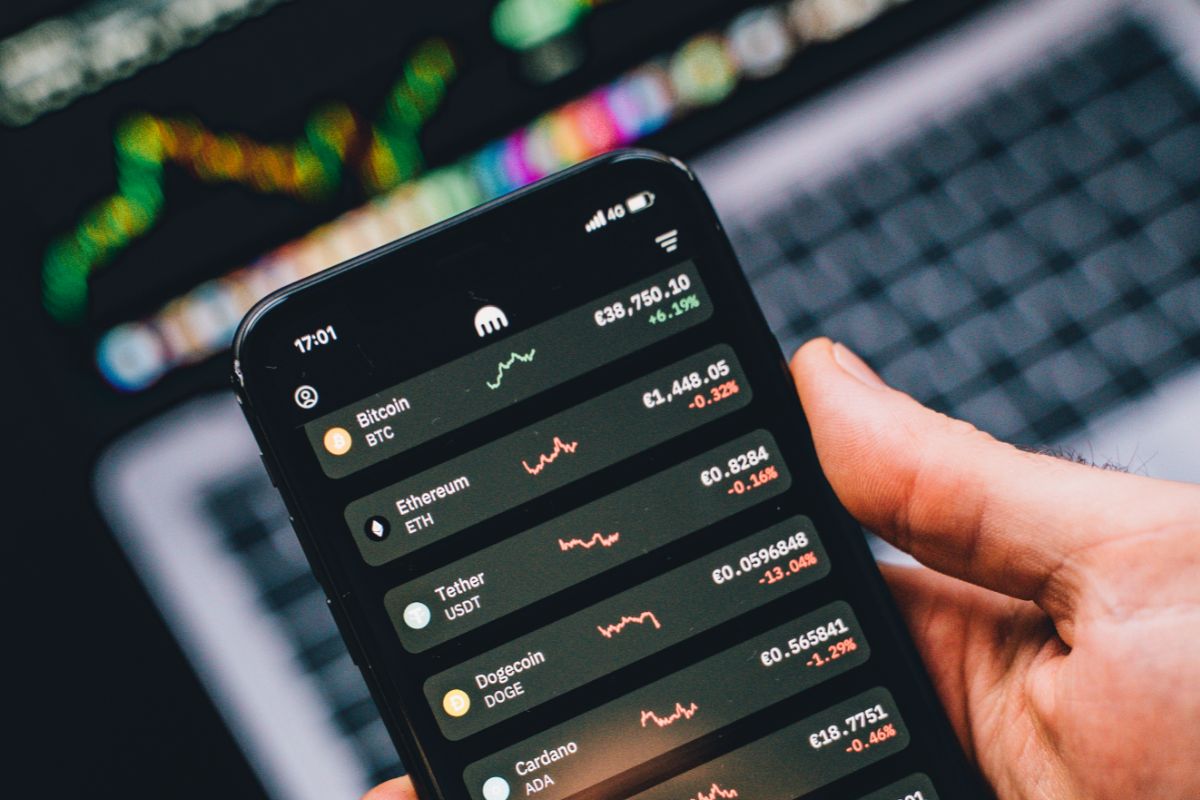
Before we get started on importing an NFT to Metamask, you’ll want to make sure that you have the Metamask app downloaded on either an iOS or android mobile device.
Unfortunately, if you only have Metamask as a browser extension, then you won’t be able to add any NFTs that way, as only the mobile devices actually feature NFT support.
So once you have your Metamask app installed and set up on your mobile device, it’s time to get started!
Step 1: Locating The Smart Address
We’ll begin by assuming that the NFT you want is available on the Opensea Market, in which case the first step to importing your NFT to Metamask is to find the NFT’s contract address.
This address is basically where the code and data for that specific NFT reside inside the blockchain, these addresses are what allow the NFTs to be transferred, as well as being used to help verify the ownership of the NFT itself!
To find the address, go to the page of the NFT you want on Opensea, click on “details”, and you should then see the address, it will be hyperlinked in blue, you can then copy this address and paste it somewhere, such as a notes document.
Step 2: Returning To The Metamask App
Once you’ve completed the previous step, return to the Metamask mobile app and click on the “Add NFTs” button, which will then prompt you to add the address of the NFT you wish to import.
Go back to the address you copied previously, and then paste it into the address box.
Step 3: Find The NFT’s ID
Did you know that each NFT has its own unique identifier? Which is what we have to find in this next step!
This identifier is as easy to find as the NFT’s address, and should be located in the same section as the address was on Opensea, so simply copy and paste it into the Metamask mobile app.
Your Metamask app should have a specific ID box for the identifier to be entered into, and it’s important to remember to add the ID, without it, you can’t prove that you own the NFT at all!
Step 4: Adding The NFT
Once you’ve completed the above steps, you’ll then be able to click “Add”, which will then finalize the importation process and add your NFT to your Metamask wallet!
How To View Your NFTs On Metamask?
Now that you’ve imported your NFTs over to Metamask, you’re probably wondering how you’re going to be able to review them right?
Thankfully, this isn’t a hard thing to find, and only requires some simple navigation through the app!
Simply locate and click on the “NFT” tab on the main menu of Metamask, which will then take you to a page that displays all the NFTs you own and have imported!
This tab can also show you all the details and information of each NFT, but just be sure that you’ve followed our guide correctly if you don’t want to experience any potential ownership errors in the importation process!
Frequently Asked Questions
The importation process of NFTs into your Metamask wallet can be a confusing process and can often raise a lot of questions, particularly if it’s your first time doing it.
Which is why we’ve compiled a list of some of the most common questions that get asked about this process, so you don’t have to go searching for the answer!
How Do I Turn On NFT Detection?
Usually, when you switch to the NFT page on Metamask, and if it isn’t already enabled, a prompt will appear with a link that will take you directly to the settings menu that will allow you to enable the auto detect feature.
If not, then simply follow these steps:
- Go to the settings menu via the hamburger in the top left corner.
- Navigate to Security & Privacy
- You should then be able to turn on auto detect, just ensure that ‘Enable Opensea API’ is turned on, otherwise autodetect won’t be able to be turned on.
Error: You’re Not The Owner Of This NFT?
This error is uncommon but problems like this can arise when trying to import your NFT to Metamask.
If you’re receiving a message stating that you’re not the owner of the NFT that you’re trying to import, then you need to check that you’re trying to import the NFT to the correct account on Metamask.
In addition to this, you should also verify that on the network’s block explorer, that you are the owner of the NFT at your Metamask account address.
If this problem persists then you need to get in touch with Metamask’s support team.
How Do I Know I Have The NFT?
Once the NFT has been sent, you should be able to view your recent transactions, which will then show you whether or not the transaction has been a success.
Alternatively, search for your NFT’s address, and see if it matches the address of your Metamask wallet.

That is why I made my site - Stock Maven. Now that I feel settled and confident about trading, I want to be a source of help to anyone else who might be struggling to break into the crypto market successfully.
My website is full of my tips and tricks, as well as information that I have always found interesting about crypto. My friends and family are sick of hearing me talk about it, so now it’s your turn!
I hope that you stick around and find something useful on my site. Remember, to make it big in crypto, you’ve got to be confident! Go for it and don’t look back.
- Best AI Stocks to Buy July 2026 After the Sell-Off - July 23, 2026
- Best AI ETFs for Beginners: Top 7 Picks to Start in 2026 - June 1, 2026
- Goal Based Crypto Investing: 2026 Long-Term Strategy Guide - May 30, 2026